6 Easy Steps for Installing a Walk-In Tub

There comes a time when nearly everyone’s life is impacted by decreased mobility. It’s quite simply a fact of life that as you age, tasks that were once simple and mundane become more challenging as your body absorbs the impact of the passing years. In some cases, reduced mobility isn’t just an inconvenience, as it can also result in a safety hazard in some areas of your household. One such area is the bathroom, where stepping into or out of the bathtub shower area can be precarious and result in debilitating falls.
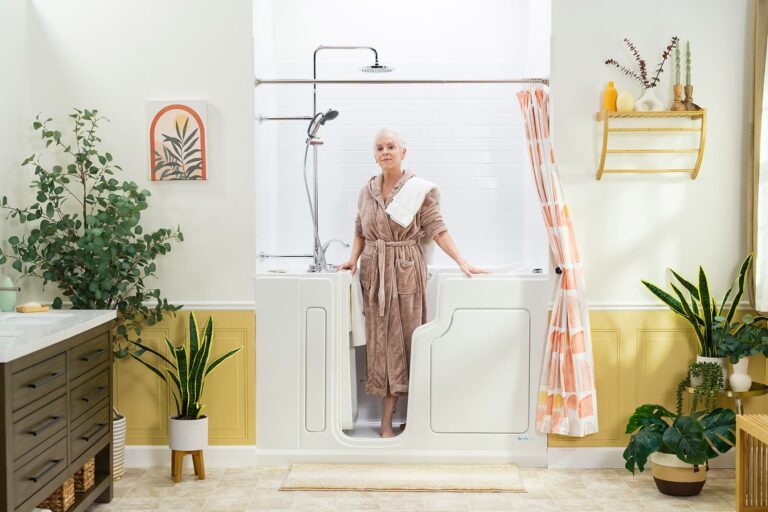
One of the best ways to retain your independence and age in place in your own home is by installing a walk-in bathtub shower combo that includes features that allow for improved safety. For example, many such bath shower combos have special doors in the tub side that are sealed when closed but can be opened so that users don’t have to step over steep sides and risk a fall. Even though such tub shower combos may look complex, they are simple to install with a little know-how. Keep reading to learn a few easy ways for installing a walk-in tub.
Enjoy $1,500 Off Your Walk-In Tub + a Free Safety Package!
Request a free quote today!
Remove the Old Tub
Obviously, the first step that must be undertaken is removing the old tub so that the existing tub space and plumbing can be utilized with your new walk-in unit. This can be challenging if you have a heavy cast-iron tub but should otherwise be a simple task with the right tools. If the tub is heavy or unwieldy, it may need to be dismantled with a sledgehammer or cutting tool prior to removal. Take care not to damage plumbing as you remove the tub.
Prepare the Space
Once you’ve pulled the old tub, you’ll be left with an empty space and the appropriate plumbing where there were once fixtures. If you have a walk-in tub with special features that require electricity, you may need an electrician to help install that infrastructure. Make sure there are no issues in the subfloor that should be remediated before the new tub is put into place.
Bring in the Walk-In Tub
Once you’ve made sure the proper infrastructure is established, it’s time to bring the tub in and place it in the designated space. First, measure the narrowest width of the tub and compared it to your door frame. Some walk-in tubs are wider than standard door frames, so you may have to disassemble the frame to get it in the bathroom. Once the tub is in the bathroom, position it in the proper space. Make sure the tub and the drain are in alignment.
Level the Tub
Many walk-in tubs come standard with feet or shims that can be used to level the tub since some bathroom floors aren’t level. Before installing the faucets, consider leveling the tub to prevent complications or additionally leveling once the fixtures are installed.
Install the Fixtures
Once the tub is in place and leveled, install the fixtures inside the tub in the right places. The faucet apparatus for some walk-in tubs can look quite complex since there may be additional bars and swing arms that allow for a greater range of articulation for the faucets. Be sure to read the installation instructions as you assemble the fixtures and their supporting structures.
Finish the Fit
Finally, once the tub is in place and connected to the plumbing, you can use special panels included with many walk-in tubs to retrofit the space. For example, if you had a standard shower bath combo, there may be unused space if you install a walk-in tub that doesn’t match in terms of size. Use the panels to fill the gaps and provide a presentable appearance. Also, some walk-in tubs come with moldings and trim that can cover seams and corners and provide a more uniform and polished look.
If you’ve ever thought of installing a walk-in tub shower combo in your bathroom, you can use these tips to easily remove your old tub and replace it with a safer option. To learn more about ways to install a walk-in tub, contact Safe Step Walk-In Tub Company at (800) 346-6616.


